Pumpkin Cheesecake Brownies
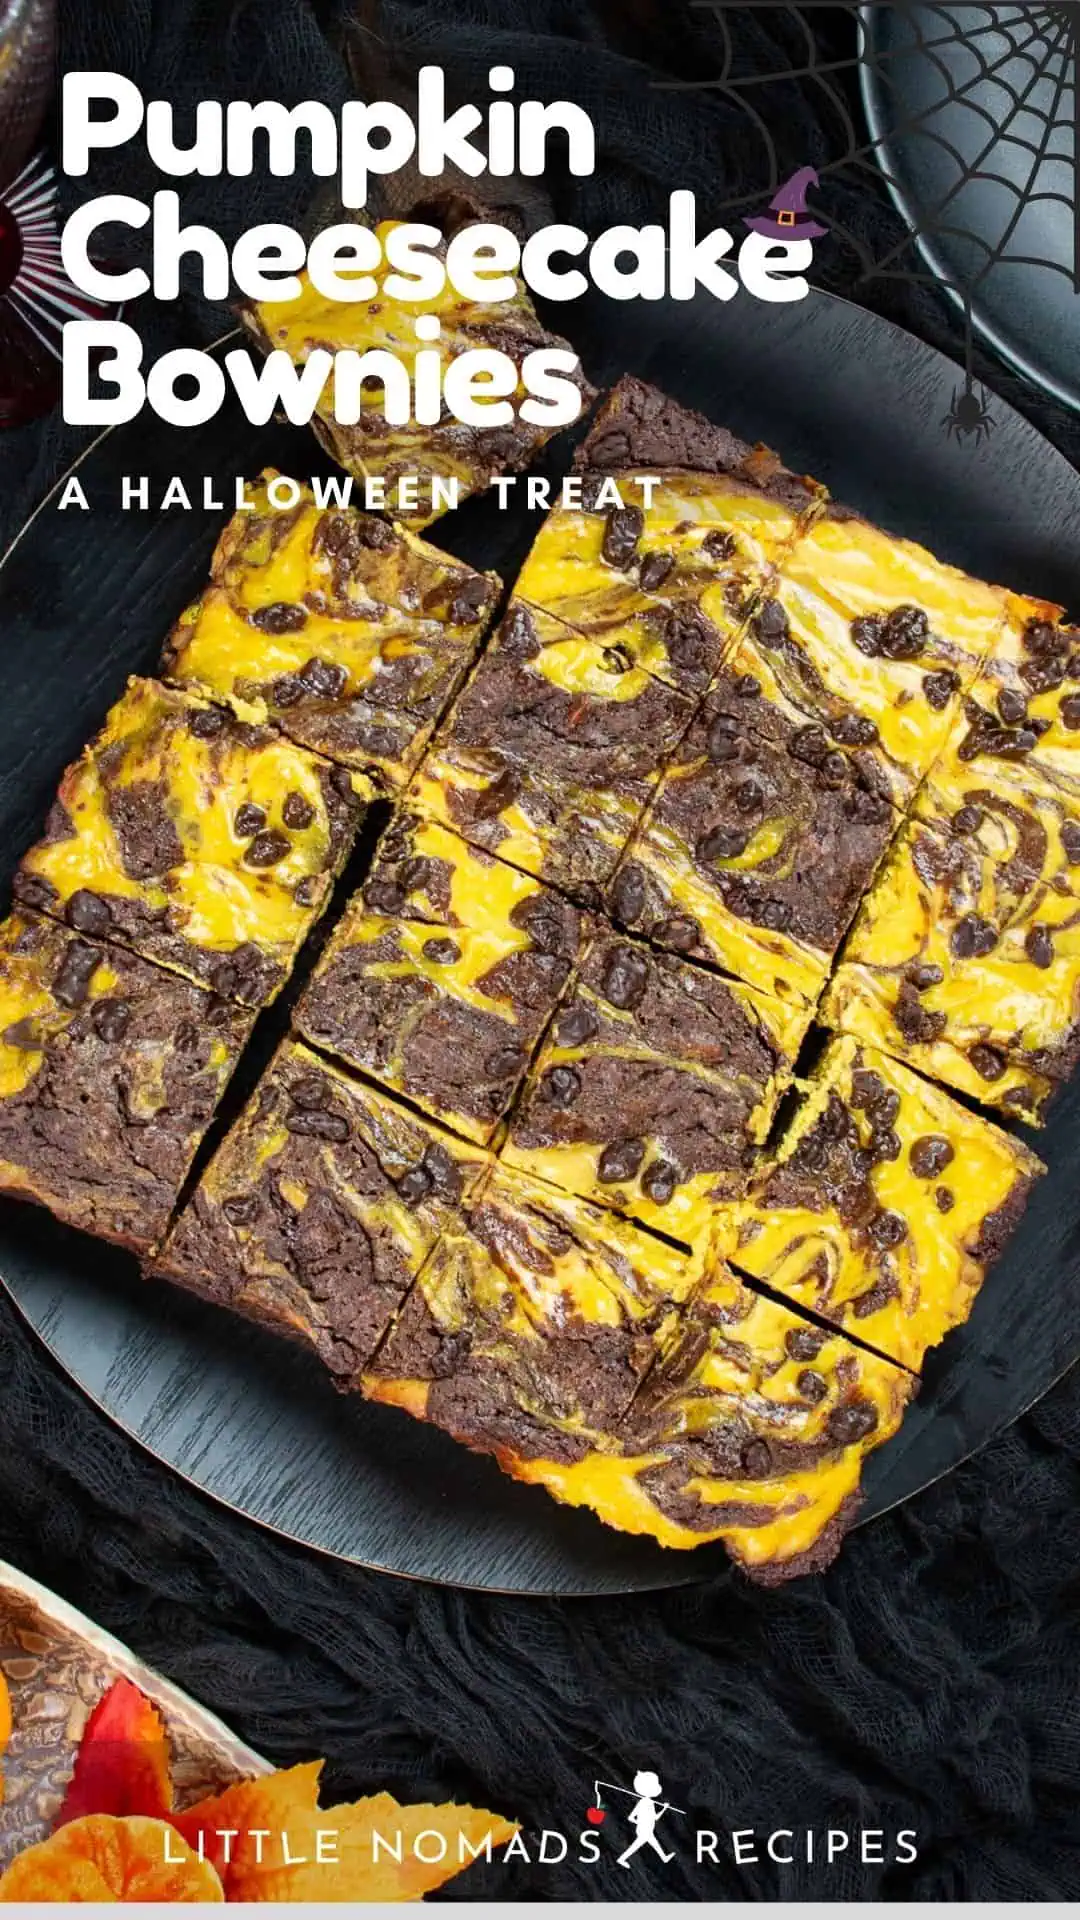
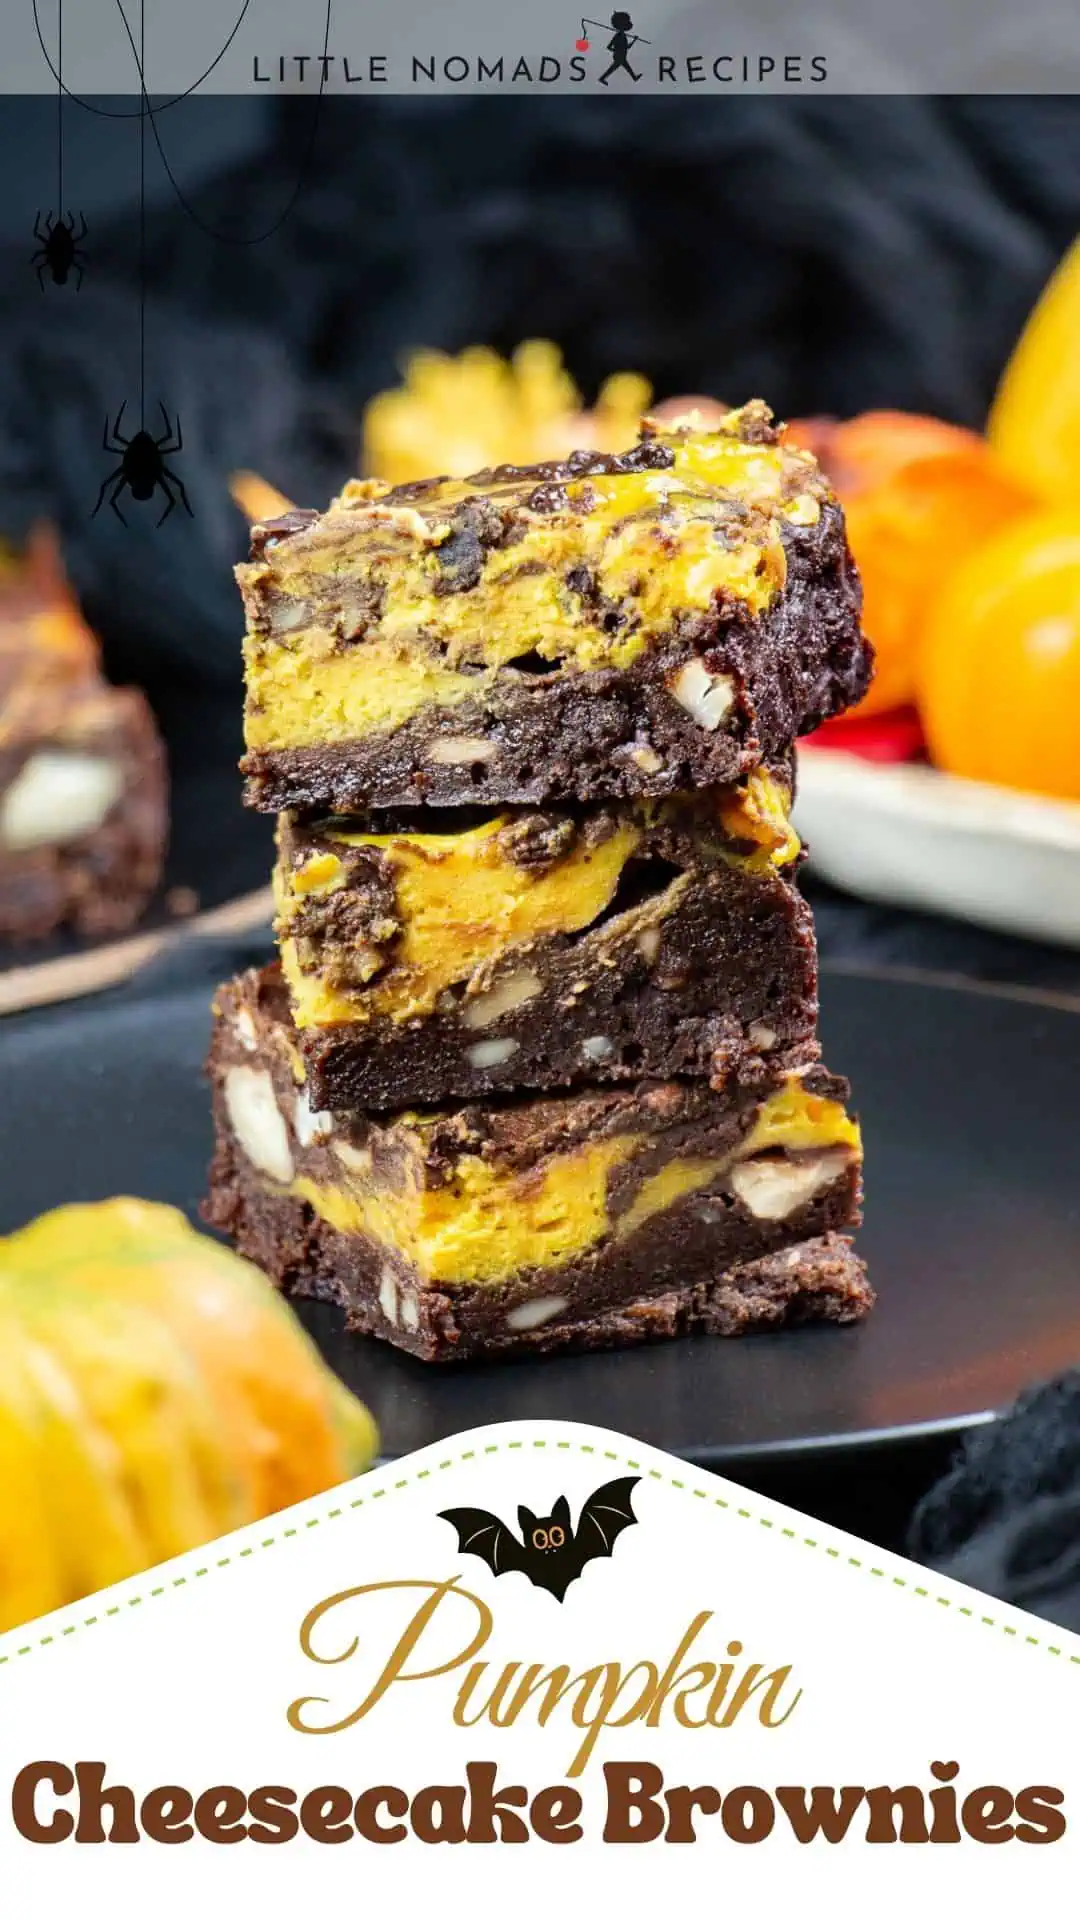
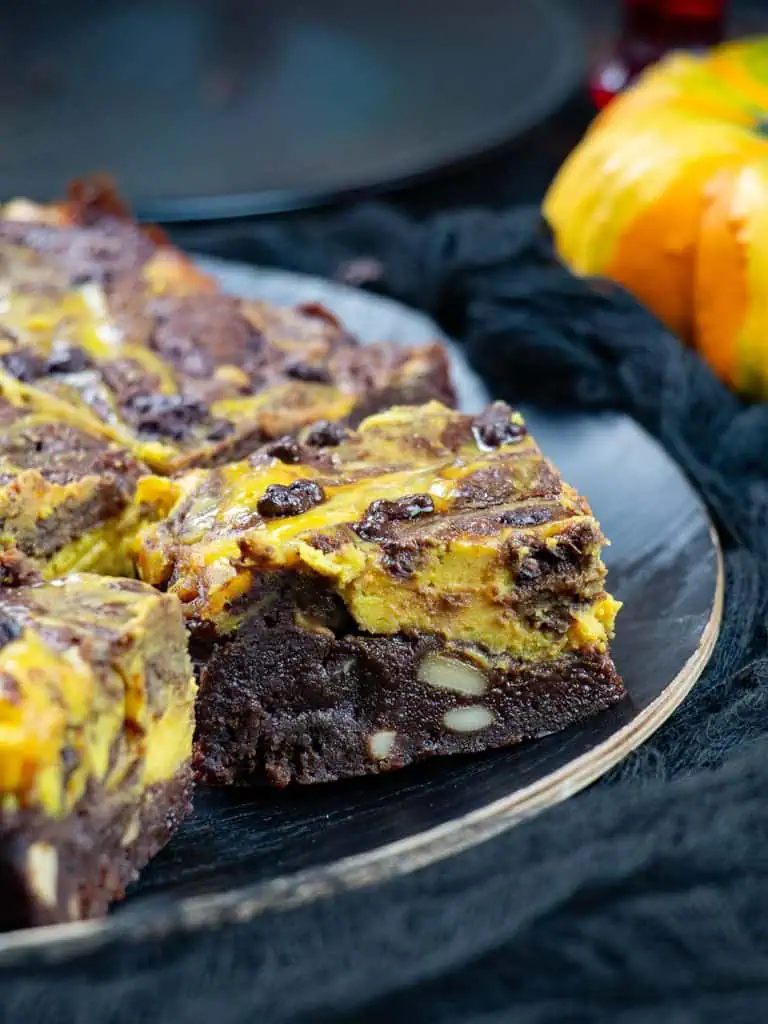
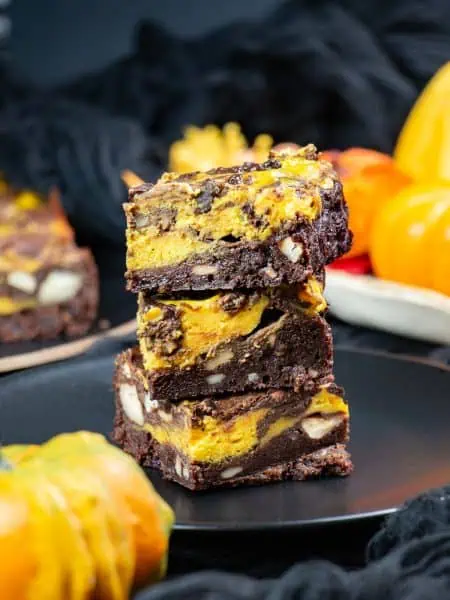
These pumpkin cheesecake brownies turn leftover Halloween pumpkin carvings into fudgy chocolate brownies swirled with pumpkin cheesecake. Toasted cashews add a lovely crunch to this Halloween treat.
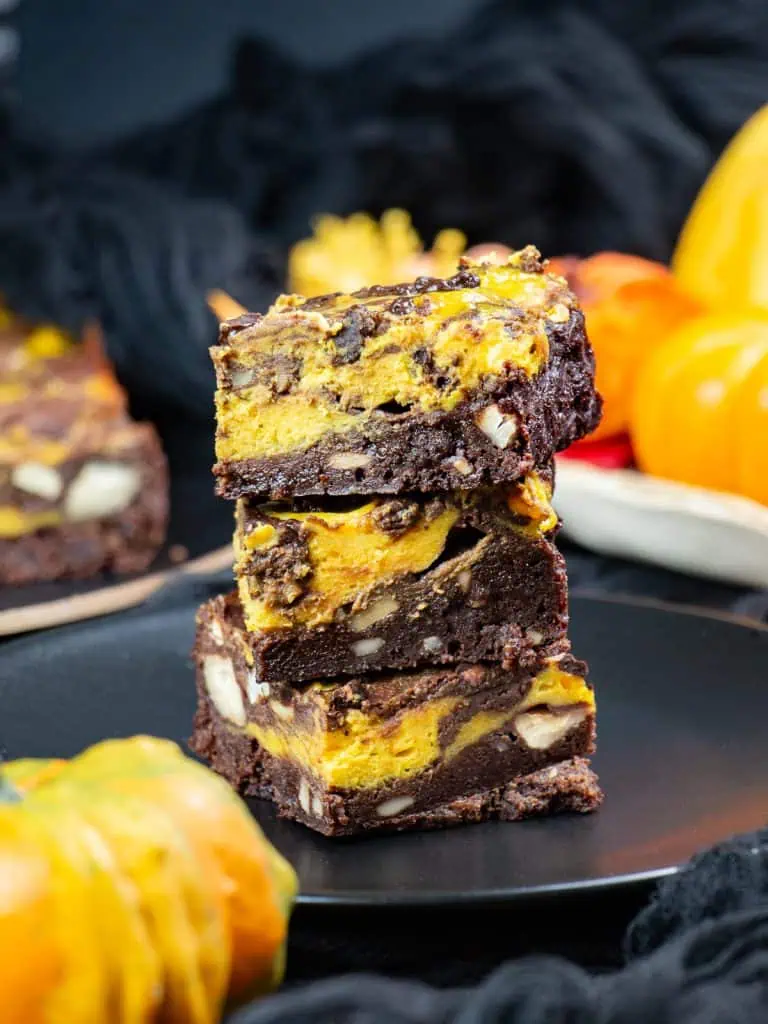
Today we travel to the United States, home of the brownie and pumpkin everything. These brownies bring two American favourites together: a rich, fudgy chocolate brownie and a creamy, spiced pumpkin cheesecake, swirled into every square. Toasted cashews add a buttery crunch, and the orange-and-chocolate marbling looks right at home on a Halloween table. Best of all, they use up the pumpkin you’d otherwise throw out after carving.
How to Make Pumpkin Purée from Leftover Carvings
I boil my pumpkin rather than roast it, because it keeps a brighter orange colour, and it takes no time at all. Peel and cube the flesh, simmer it in water for about 15 minutes until soft, then drain it well and blend until smooth. Pop the purée straight into the fridge; as it chills, it firms up and releases extra water, which you can simply pour off. That gives you a thicker purée that won’t make the cheesecake soggy. Take it out about 30 minutes before baking. Short on time? Canned pumpkin purée works just as well.
Tips for Fudgy Brownies and a Pretty Pumpkin Swirl
- Start at room temperature. Take the cream cheese, eggs and pumpkin purée out of the fridge about 30 minutes before baking. In a hurry? Cut the cream cheese into cubes to soften faster.
- Use two kinds of chocolate. The dark chocolate gives fudgy texture, and the cocoa adds strong chocolate flavour, without piling on sugar. Cocoa powder also absorbs liquid, so it helps the brownie base stay firm under the moist pumpkin cheesecake instead of turning soggy.
- Add a pinch of turmeric for colour. Stir 1/3 tsp of turmeric into the cheesecake layer. It gives the pumpkin a deeper, sunnier orange; you won’t taste it at all, and it sneaks in a spice valued for its antioxidants. It’s also a natural alternative to synthetic yellow food colouring.
- Use two kinds of sugar. White sugar dissolves into the eggs and helps create that thin, shiny, crackly top. Brown sugar contains molasses, which keeps the brownies moist and chewy and adds a soft caramel note that goes beautifully with the pumpkin spice.
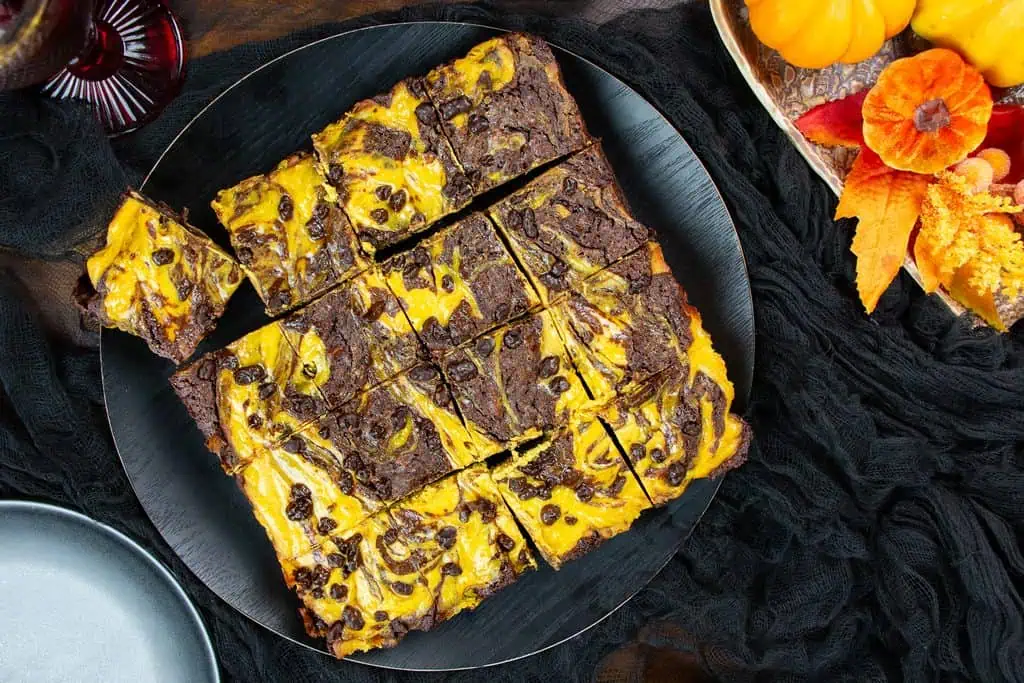
- Swirl only the top layer. Run the knife through the cheesecake and the spoonfuls of brownie batter on top, without dragging it down into the base. A few gentle strokes will give you a pretty marbled top while keeping the two layers distinct.
- Treat them like cheesecake, not brownies. These aren’t room-temperature brownies. Let them cool completely, then refrigerate for at least 2 hours before cutting, so the cheesecake has time to set.
- Toast the cashews (optional). Toasting them in a dry pan for a few minutes releases their natural oils and brings out a deeper, buttery flavour. It also helps them stay crunchy.

Free monthly recipes
Subscribe to Little Nomads Recipes!
Get updates on the latest posts and more from Little Nomads Recipes straight to your inbox.
What Can Go Wrong (and How to Fix It)
- The cheesecake layer is wet or sinks. The purée was too watery, or you pulled the brownies out of the oven too early. Chill the purée and pour off the liquid before using it. Bake until the edges are set, and the centre only wobbles slightly.
- The top cracks. Usually the oven was too hot or the brownies baked too long. Beating the cream cheese mixture too hard also adds air, which makes it puff up and then crack. Mix just until smooth. A small crack is only cosmetic, and the swirl hides most of it.
- The swirl disappears into the brownie. You went too deep with the knife, or you swirled too many times. Keep it to a few gentle strokes on the top layer only.
- The squares look messy. They weren’t chilled long enough. Chill for at least 2 hours, then cut.
Pumpkin Cheesecake Brownies
Equipment
- 20 x 20 cm (8-inch) square baking pan
Ingredients
Brownie layer
- 180 g butter
- 100 g dark chocolate (70 to 80%), chopped (1 standard bar)
- 100 g white sugar
- 100 g brown sugar
- 3 eggs at room temperature
- 1 tsp vanilla extract
- 80 g plain flour
- 60 g unsweetened cocoa powder
- 75 g roasted cashews roughly chopped
- ¼ tsp salt
Pumpkin cheesecake layer
- 250 g cream cheese at room temperature
- 60 g sugar
- 1 egg at room temperature
- 250 g pumpkin purée
- 1 tsp pumpkin pie spice or mix 1/4 tsp ginger and nutmeg and 1/2 tsp of cinnamon powder
- 1 tbsp plain flour
- ⅓ tsp turmeric powder *optional, it's for extra colour
Instructions
- Preheat the oven to 175°C (350°F) and line the pan with parchment paper, leaving some overhang to lift the brownies out.
- Toast the cashews in a dry pan over medium heat, stirring often, until golden and fragrant, about 3 minutes. Let them cool, then chop them roughly.
- In a large bowl, whisk the eggs, then whisk in the vanilla. Stir in the flour, salt and chopped cashews just until combined.
- Melt the butter and dark chocolate together in the microwave in 30-second bursts, stirring each time, until smooth. Whisk in both sugars and the cocoa until well combined.
- Pour the chocolate mixture into the egg mixture and stir just until smooth.
- Set aside about a quarter of the brownie batter. Spread the rest evenly in the pan.
- Beat the room-temperature cream cheese, sugar, and egg, then the pumpkin, pumpkin pie spice, and flour, just until smooth.
- Spread the pumpkin cheesecake over the brownie layer. Drop spoonfuls of the reserved batter on top and swirl gently with a knife, using just a few strokes.
- Bake for about 35 minutes, until the edges are set, the centre wobbles only slightly, and a toothpick in the cheesecake part comes out clean.
- Cool in the pan for 1 hour, then refrigerate for at least 2 hours before lifting out and cutting into squares.
Video
Notes
- Room temperature matters: cold cream cheese or eggs can make the cheesecake lumpy.
- Cashews: roasted cashews add a buttery crunch. Lightly salted ones are lovely with the chocolate. Leave them out for a nut-free version.
- Storage: keep in a closed container in the fridge for up to 4 days, or freeze for up to 3 months.
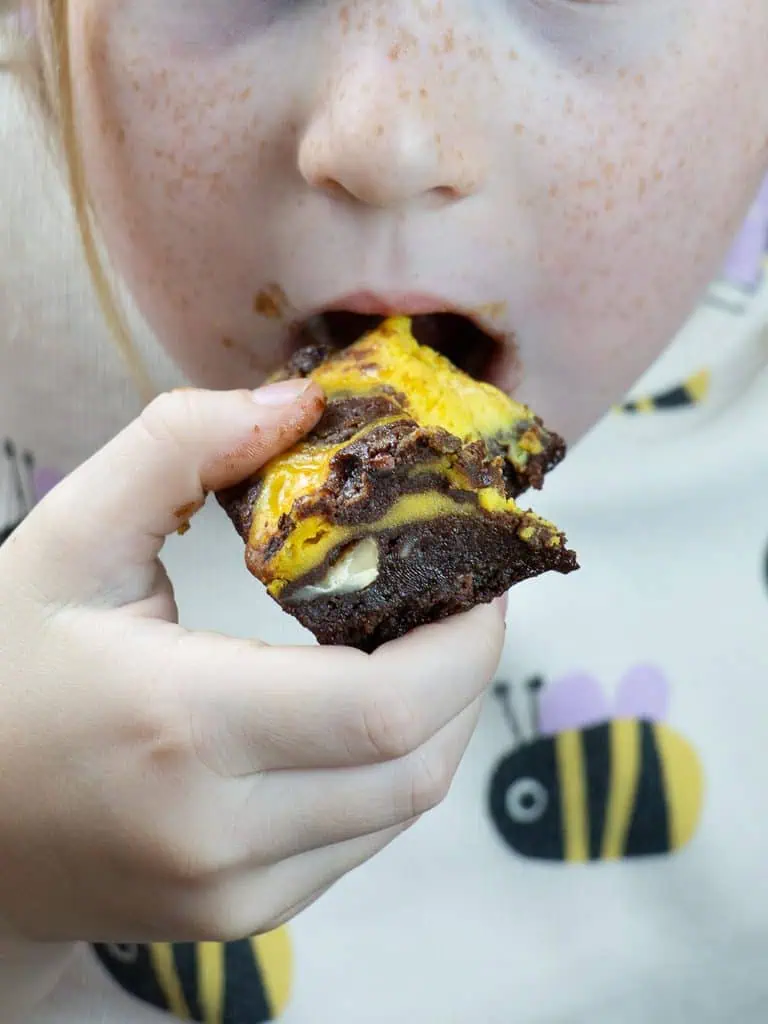
- Kitchen helpers: kids love doing the swirl, just keep it to a few strokes!
Nutrition
Sharing of this recipe is encouraged and appreciated. Copying a full recipe to any social media is prohibited.
Did You Make This Recipe?
Share your thoughts on it! Leave a comment or share a picture and tag me @littlenomadsrecipes on Instagram.